
How to Customize Google Forms
Getting started with Google Forms is straightforward: All you need is a Google account. Google Forms already offers a plethora of customization capabilities that can aid in making your forms more engaging and visually appealing. Here's a guide to making the most out of these tools.
Altering Your Questions
When creating a question in Google Forms, a few customization options become available on the right-hand toolbar. You can assemble questions into sections and provide titles and explanations, allowing respondents to understand your inquiries better. Incorporating images and videos can significantly enrich your forms, especially when used in quizzes.
Adding a title and explanation to a section of your form begins by selecting a question. This action merely informs Google Forms where you wish to supplement more details.
Once you've selected a question, click the text icon in the toolbar on the right to input a title and description.

By default, Google Forms positions the title and description beneath the chosen question, but you can also drag and drop it to suit your design needs.
Moving down the toolbar, you'll find icons for image and video attachments. A variety of sources are available for images.
The upload option is pretty straightforward. The Camera option allows you to take a photo with your device, whereas the URL option enables you to use a web-based image. The Photos option permits selection from your Google Photos. You can also utilize Google Drive to retrieve images, and the Google image search option keeps you within the page while you search.
After adding an image, you can adjust its size and provide a title.
Adding a video follows a similar process, but only two options are available: inputting a YouTube URL or searching YouTube directly for a video.
Modifying the Form Design
The painter’s palette icon at the top right corner allows you to adjust the form’s theme.

Clicking it reveals various design options. The first section allows you to select the font style and size for your form's header, questions, and all other text.
Next, you have the chance to choose a header image for your form. The image source options are a bit more limited here, but they include a somewhat concealed feature.
Under the Themes tab, there are several categories from which you can select an image. An interesting feature is that the selected image automatically alters the default color palette.
While the theme color cannot be minutely adjusted for each form element, choosing a color will modify the background color and some other design aspects.
The plus button opens a color picker that will be familiar to those who've dabbled in design work. From here, you can add your own color.
You can also change the background color of the form. However, individual components of your form cannot be altered. Only the overall shade of the background can be adjusted.
Accessing Advanced Customization Features
While Google Forms provides a solid foundation, the customization options are rather basic. For a form that truly reflects your brand or requires more intricate design elements, a more comprehensive tool like Nerdy Form might be your best bet.
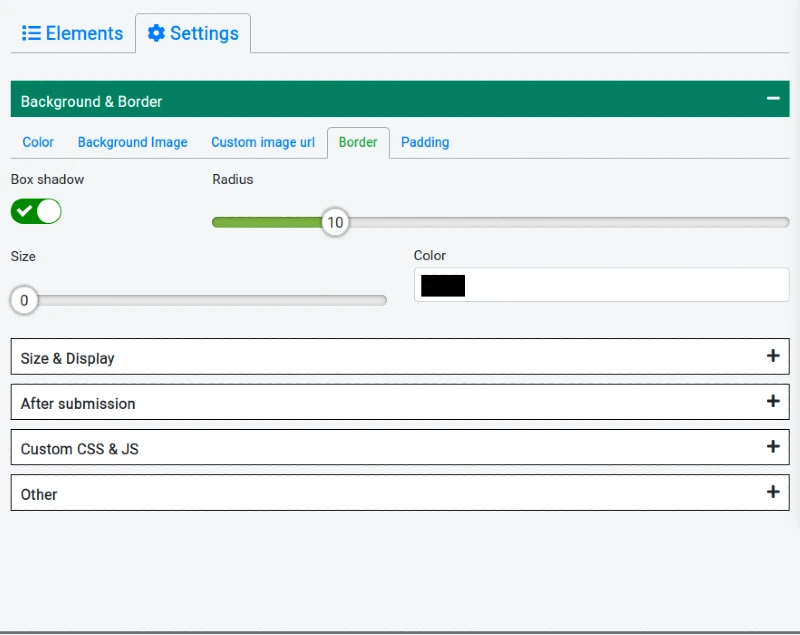
Besides allowing the incorporation of photos and videos, Nerdy Form facilitates the creation of multi-column questions, alignment alterations, sub-label additions, and much more.
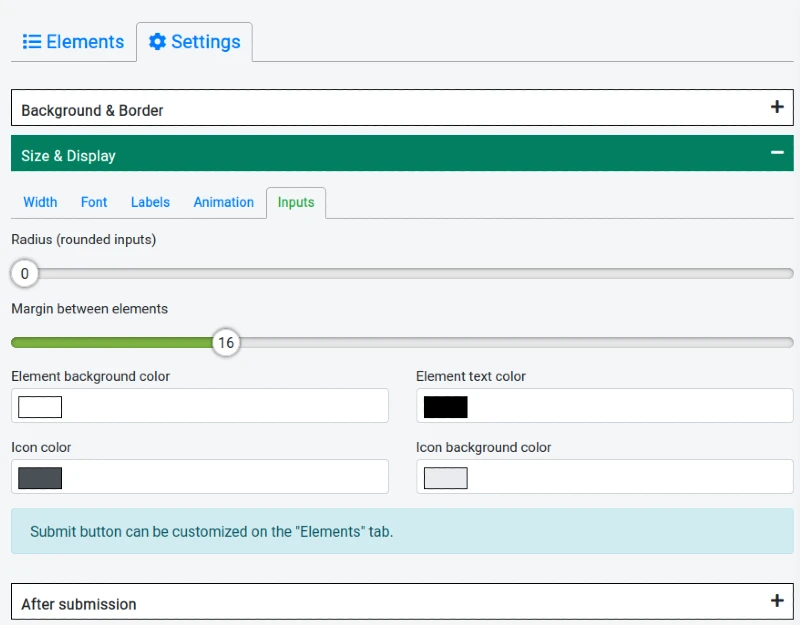
Furthermore, Nerdy Form offers a wide array of form styling options, including a greater variety of fonts, colors, and layouts. For users desiring greater control over their form’s appearance, there are plenty of customization options.

For those content with simpler choices, Nerdy Form offers an array of appealing themes. However, for users seeking expanded customization, Nerdy Form also permits the use of custom CSS. For real design aficionados, Nerdy Form delivers a highly advanced form design tool.
