Easy Way to Create an Appointment Form
In today's fast-paced world, appointments are essential for organizing various activities and ensuring smooth functioning in businesses like healthcare, beauty salons, consultancy firms, and more. An appointment form helps streamline the booking process by enabling clients to reserve time slots and provide the necessary information beforehand. However, creating an effective appointment form can be a challenging task, especially for those without coding or design skills. This blog post will guide you through the easy way to create an appointment form with a form builder that offers user-friendly features and tools.
Online appointment forms have revolutionized the way people schedule meetings, consultations, and services across various industries. Among the most popular types of online appointment forms are medical appointment forms, which streamline patient access to healthcare professionals and simplify the booking process for doctors, dentists, and therapists. Service appointment forms, often utilized by salons, spas, and automotive repair shops, allow clients to book their desired services in a user-friendly interface. Similarly, business consultation forms cater to the corporate world, enabling clients to effortlessly schedule meetings with consultants, lawyers, and financial advisors. Educational appointment forms, used by schools, universities, and tutoring centers, facilitate bookings for parent-teacher conferences, student counseling sessions, and private tutoring.
The Simple Solution: Using a Form Builder
Instead of grappling with complex coding or design software, using a form builder to create appointment forms is a more efficient solution. Form builders offer a plethora of benefits, such as:
- No coding skills required: Form builders provide a simple drag-and-drop interface that allows you to create forms without any coding expertise.
- Customizable templates: Form builders offer various templates that you can customize to suit your business's needs and branding.
- Time-saving: With a form builder, you can create an appointment form in minutes, allowing you to focus on other important aspects of your business.
- Easy integration: Most form builders seamlessly integrate with popular website platforms, CRM systems, and email marketing tools.
When choosing a form builder for creating appointment forms, look for one that offers essential features like map integration, date and time selection, and customizable fields to cater to your specific requirements.
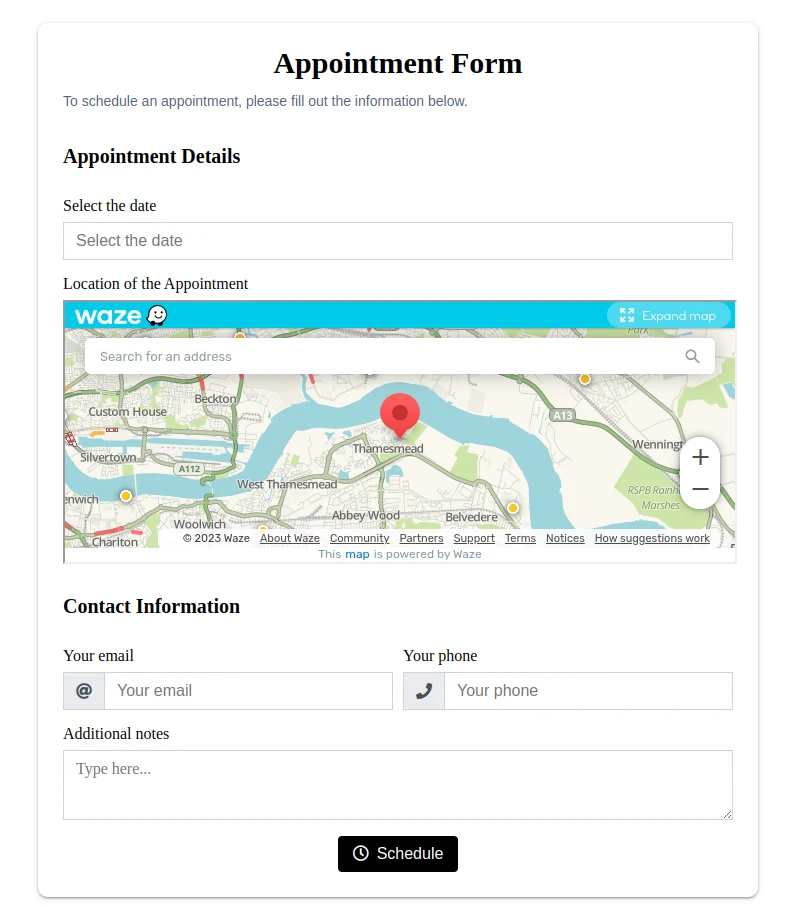
Specifying Appointment Location on a Map
Incorporating a map in your appointment form has several advantages:
- Improved user experience: A map allows your clients to visualize the appointment location, making it easier for them to plan their visit.
- Enhanced accuracy: With a map, clients can pinpoint the exact location of their appointment, reducing the chances of confusion or miscommunication.
- Increased efficiency: A map helps clients estimate travel time and distance, enabling them to plan their day better and arrive punctually.
To add a map to your appointment form using our form builder, follow these simple steps:
- Create a new element.
- Choose map type.
- Customize the map's appearance, size, and location coordinates as per your preferences.
Date and Time Selection for Appointments
Accurate date and time selection is crucial for appointment forms, as it directly impacts your business's schedule and clients' convenience. Using the Date field in your form builder, you can easily allow clients to specify their preferred appointment dates and times. Here's how:
- Create a new element.
- Choose date type.
- Customize the appearance, format, and settings of the Date field to match your requirements.
- Enable the time selection option to allow clients to choose their preferred time slots.
Another essential feature of the Date field is its ability to restrict available dates. This ensures that clients can only book appointments on days when you are available, reducing the need for rescheduling or cancellations. To restrict available dates, follow these steps:
- Access the settings of the Date field.
- Choose the option to restrict dates based on specific criteria, such as weekends, holidays, or custom date ranges.
- Save your changes and preview the form to ensure the restricted dates are displayed correctly.
Redirect to a "Thank You" Page
Redirecting to a thank you page after form submission is an effective way to enhance the user experience and provide clients with essential information about their appointment. A well-designed thank you page acknowledges the form submission, confirms the appointment details, and shares any additional instructions or policies related to the appointment.
By setting up a redirect to a thank you page, you provide an immediate visual confirmation of a successful submission and have the opportunity to engage your clients further. To make your thank you page more effective, consider addressing the client by their name and including personalized information, such as the appointment date and time. Ensure that the page communicates any additional details or instructions related to the appointment clearly, and design the thank you page to match your business's branding and style.
In addition, guide the client to the next steps if applicable, such as completing a pre-appointment questionnaire or making a payment. Including your business's contact information on the thank you page can also be helpful in case the client has any questions or concerns about their appointment. You can encourage clients to connect with your business on social media platforms to stay updated on promotions, events, or news and showcase client testimonials or reviews to build trust and credibility with new clients.
Setting up a redirect to a thank you page is a simple process with most form builders. Just ensure that you have created a dedicated thank you page on your website, and then configure the form's settings to redirect users upon successful submission. This small addition to your appointment form can significantly improve the overall booking experience and help establish a positive relationship with your clients from the very beginning.
Auto-Reply Emails
Auto-reply emails play a significant role in enhancing the effectiveness of appointment forms. These automated responses are triggered upon form submission and help keep clients informed and engaged. Auto-reply emails are particularly useful for appointment forms, as they can be configured to include essential information, such as the date and location of the appointment.
By incorporating auto-reply emails in your appointment form, you provide instant confirmation to clients and ensure they have all the necessary details readily available. This not only improves the client experience but also reduces the chances of miscommunication or scheduling errors. To make the most of auto-reply emails, consider personalizing the email content, adding your business logo, and including any additional instructions or policies related to the appointment. By doing so, you create a seamless and professional booking experience for your clients.
Attional Tips for Enhancing Your Appointment Form
To make your appointment form even more effective, consider incorporating these additional features:
| Design and branding | Customize your form's colors, fonts, and layout to align with your business's branding and create a cohesive user experience. |
|---|---|
| Clear instructions | Provide clear instructions and tooltips to guide users through the form-filling process, reducing the likelihood of errors or confusion. |
| Mobile responsiveness | Ensure that your form is mobile-friendly, as many clients will access it through smartphones or tablets. Most form builders offer mobile-responsive templates that automatically adjust to different screen sizes. |
| Field validation | Implement field validation to prevent users from submitting incomplete or incorrect information. Field validation can include mandatory fields, email address format checks, and character limits. |
| Confirmation messages | Set up confirmation messages or autoresponder emails to thank clients for booking an appointment and provide them with relevant information, such as appointment date, time, and location. |
| Reminders | Integrate your form with email marketing or SMS tools to send automatic appointment reminders to clients, reducing the chances of no-shows or last-minute cancellations. |
| Data management | Ensure that your form builder allows you to manage and store the submitted data securely. Look for features like data export, integration with CRM systems, and GDPR compliance to manage your client data effectively. |
| Analytics and reporting | Utilize the analytics and reporting features offered by your form builder to track form submissions, user behavior, and conversion rates. This data can help you identify areas for improvement and optimize your appointment form for better performance. |
Conclusion
Creating an appointment form doesn't have to be a daunting task. By using a form builder with user-friendly features and tools, you can easily design an appointment form that streamlines the booking process and enhances the client experience. We recommend using Nerdy Form as your go-to form builder for creating appointment forms, as it offers all the essential features mentioned in this blog post, along with seamless integration and excellent customer support. Forms of all types can be created using our form builder. For example, a customer satisfaction survey form is a widely used form type. Say goodbye to coding hassles and embrace the simplicity of form builders to create appointment forms that truly make a difference.