
What Can You Use Google Forms For?
Published: 2 years ago
When planning any event, be it a cozy gathering or a large online conference, having the right tools is essential. One such indispensable tool is the RSVP form. In this blog post, we're going to delve into the world of RSVP forms. We'll cover what they are, why they're beneficial, how they're used, and provide a step-by-step guide to creating your very own RSVP form using Google Forms.
RSVP is an acronym derived from the French phrase 'Répondez s'il vous plaît,' which translates to 'please respond.' An RSVP form is a document or digital tool used to obtain a response from invited guests. It helps event organizers get a clear headcount and necessary details, ensuring the smooth running of the event.
Accurate Guest Count: An RSVP form gives an accurate count of guests attending. This data aids in making critical decisions like venue size, food, and beverage arrangements.
Event Personalization: With RSVP forms, you can get specific details like food preferences, aiding in a personalized experience for your guests.
Improved Communication: RSVP forms can include important event details, ensuring all guests are well-informed.
RSVP forms are widely used in various event planning scenarios. From weddings to corporate seminars, webinars, workshops, or even birthday parties - an RSVP form is a staple tool to ascertain guest attendance and preferences.
Now, let's dive into the step-by-step process of creating an RSVP form using Google Forms.
To start, ensure you have a Google account. First of all you need to open Google Forms
Google Forms provides an array of templates to choose from. To find an RSVP template, click on the 'Template Gallery' button at the top right of the page. Scroll down until you find the 'RSVP' template. Click on it to start customizing.

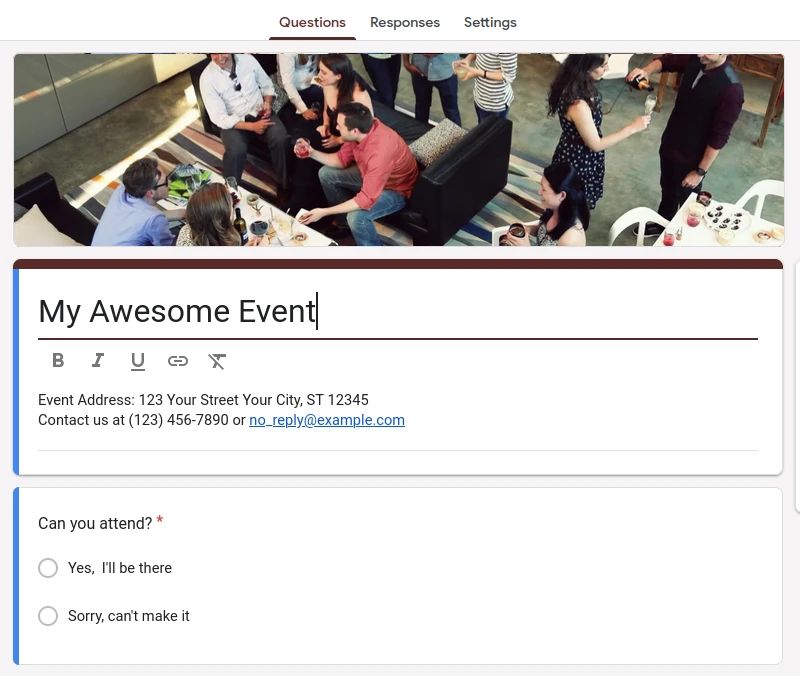
Personalize your RSVP form to match the event. Start by changing the title to match your event's name. You can add questions like the guest's name, email, whether they will attend or not, plus optional details like food preferences or special requests.
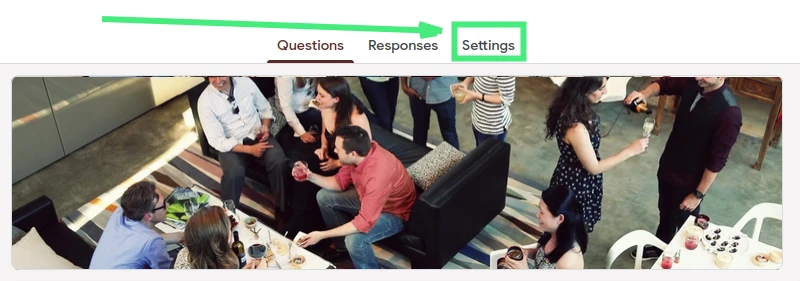
Before you send out your form, it's essential to review and adjust the settings to suit your needs. To do this, click on the "Settings" tab at the top of the page.
In this section, you have several options to customize how responses are collected and presented. You can choose to collect email addresses, limit responses to one per person, or allow respondents to edit their responses.
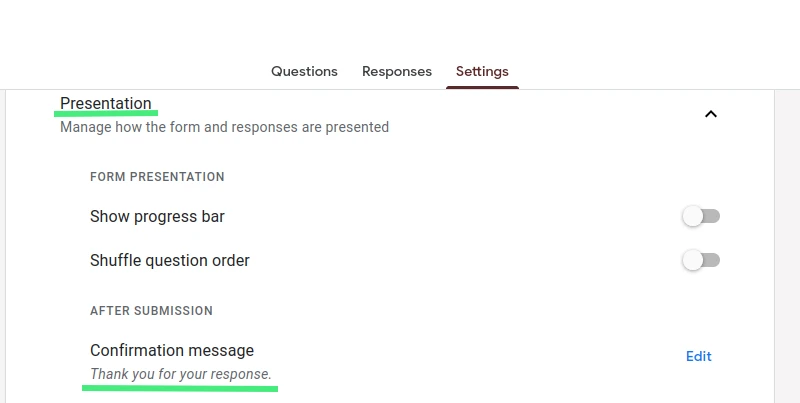
Moreover, under the "Presentation" tab in the settings, you can also personalize the confirmation message that appears after guests submit their RSVP. This lets you add a touch of warmth or fun to the end of your form, enhancing the overall experience for your guests.
Now it's time to send out your RSVP form! Click on the 'Send' button in the top right corner. From here, you can choose to send your form via email, share a direct link, or embed it on your website.

In conclusion, using Google Forms to create an RSVP for your next event is a straightforward, efficient process. Not only will you save time, but you will also add a layer of professionalism and organization to your event planning. Happy organizing!
Remember to bookmark this blog post for future reference, and do share it with fellow event planners who might find it valuable.
Related Articles
Just discovered Nerdy Form? Try our free form builder now!
Sign up for FREE